Waterproofing a Walk-In Shower: A Guide to Products and Techniques
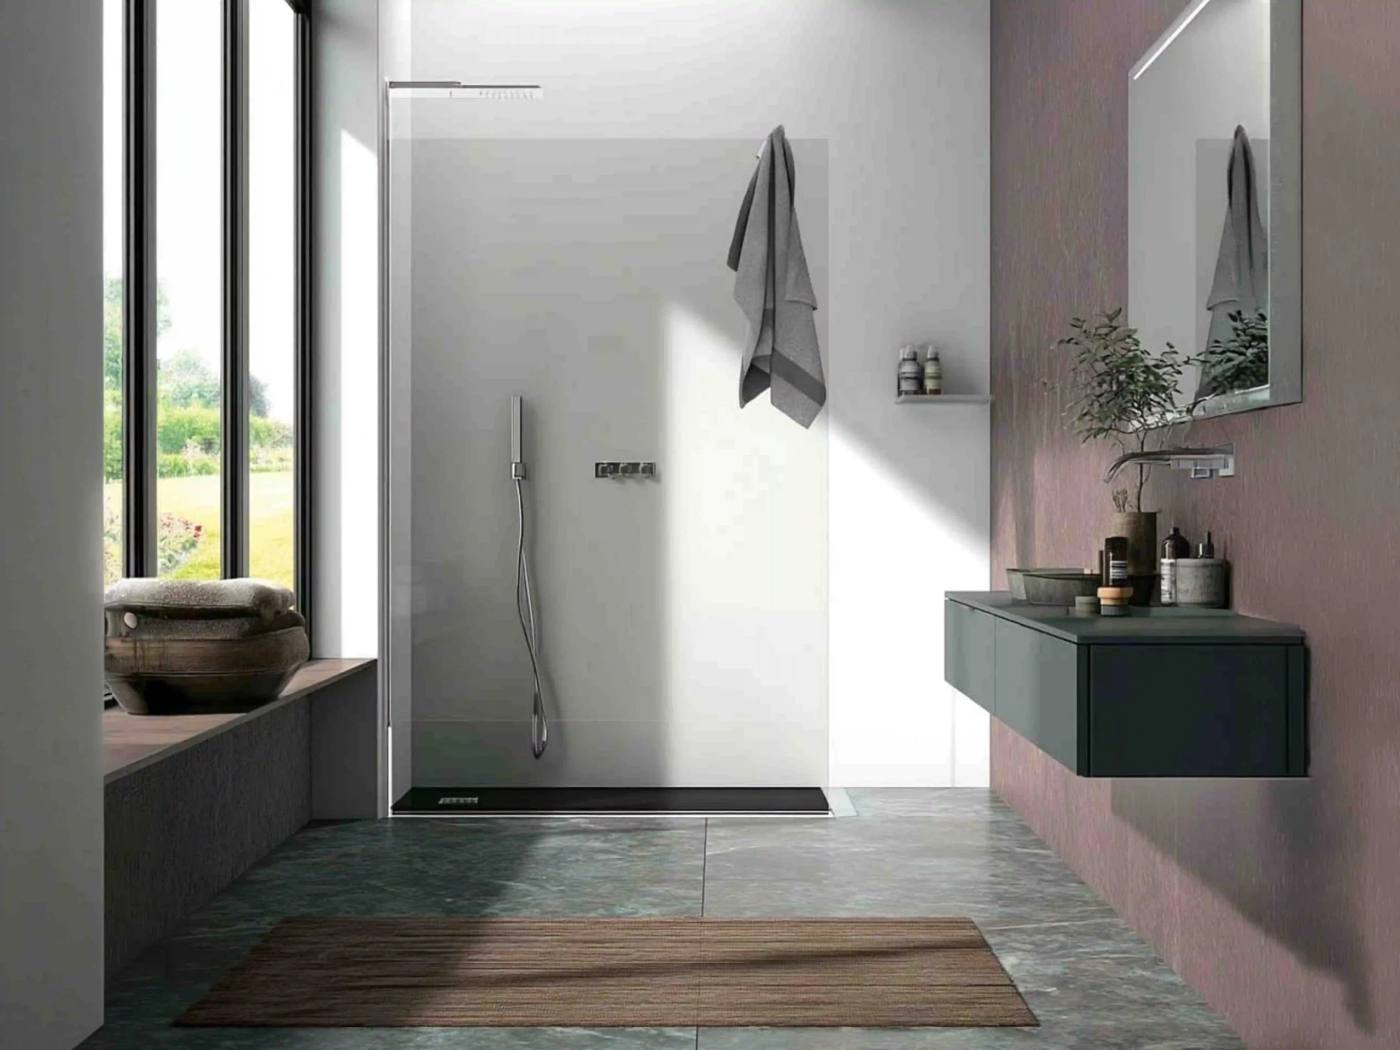
The walk-in shower is one of the most popular solutions in bathroom renovations of recent years. No doors, no bulky profiles, no visual obstacles. But there is one aspect that is often underestimated during the design stage: waterproofing a walk-in shower is far more critical than waterproofing a traditional enclosed shower, because the water moves far more freely.
Understanding how to waterproof this type of shower properly is not just a technical matter: it is the difference between a bathroom that lasts twenty years and one that starts causing problems by its second winter.
Why waterproofing a walk-in shower is different
In an enclosed shower, the glass panels and the sealing profiles physically limit how far the water spreads. In a walk-in this does not happen. Water splashes, runs and pools in unexpected corners. Steam saturates the air and penetrates surfaces.
This means that waterproofing a walk-in shower must be planned with a broader approach: treating just the tray or the shower floor is not enough. You need to allow for at least 180-200 cm of height on the surrounding walls, the corners, the junctions with the floor and the points where the wastes pass through.
Neglecting any one of these elements leaves a gap through which moisture works silently for months, until the problem becomes visible as stains, swelling or, worse, structural mould.
The products
Several categories of product are available on the market. The choice depends on the type of substrate, the intended use and the desired level of finish.
Liquid-applied waterproofing membranes
These are the most widely used on residential sites. They are applied by brush or trowel directly onto the prepared surfaces and form a continuous, seamless film. For waterproofing a walk-in shower they are a reliable choice because they adapt easily to the most complex geometries: recessed corners, junction zones, pipe penetrations.
The best formulations on the market reach a dry-film thickness of 1-2 mm and can be tiled over within 24-48 hours. Some are also compatible with underfloor heating.
Reinforcing fabric + waterproof primer
A more robust technique, often used in combination with liquid membranes to reinforce the critical corners. The fabric is embedded in the first coat of membrane, then covered with a second coat. The result is a surface with no mechanical weak points.
For waterproofing a walk-in shower this technique is particularly suited to situations where the substrate has small discontinuities (plasterboard joints, junctions between different materials) or where heavy use is expected, as in hospitality settings or shared bathrooms.
Epoxy primers and two-component systems
These offer superior performance, but require more care in application and stricter working times. They are used in professional contexts or where the project demands high technical specifications. For waterproofing a walk-in shower in a residential setting they are rarely necessary, unless you are working on particularly porous or problematic substrates.
Self-expanding waterproof tapes
These are not a stand-alone solution, but an indispensable complement. They are applied to corners and joints before the membrane to guarantee a watertight seal in the areas under the greatest stress. In waterproofing a walk-in shower, the corners between floor and wall and the movement joints are statistically the most at-risk points: treating them with specific tapes before laying the membrane drastically reduces the likelihood of future leaks.
Application techniques: what to do and what to avoid
Knowing the products is not enough. Waterproofing a walk-in shower depends crucially on how they are applied.
Substrate preparation. The substrate must be clean, dry, free of dust and grease. Any cracks or discontinuities must be filled before starting. Skipping this step is the number one reason waterproofing fails early.
First coat. The membrane is spread evenly, covering the whole area concerned. For waterproofing a walk-in shower you always start from the corners and the perimeter of the tray, then work up the walls.
Corner reinforcement. Before or during the first coat, the reinforcing tapes are applied. The corners must be treated carefully, with no tension on the fabric, making sure the tape bonds completely with no air bubbles.
Second coat. This is applied crosswise to the first, to cover any thin areas. The waiting time between the two coats depends on the product: respecting it is non-negotiable.
Visual check. Before laying the tiles it is wise to inspect the whole surface against the light or with a torch. The thinner areas show up as a difference in colour. If in doubt, a localised third pass is added.
The areas not to overlook
There are specific points that deserve extra attention in any walk-in shower waterproofing project.
The floor waste. The waste flange is a discontinuity in the substrate. If it is not treated with the waterproofing product and a specific sealing tape, it becomes a point of pooling and infiltration. Linear channel drainage systems, very common in walk-ins, require continuous treatment along the whole length of the channel.
The junction with the exposed wall. In walk-ins that have only one supporting wall and the rest open to the bathroom, the critical point is the corner between the treated wall and the dry zone. Here water can splash beyond the waterproofed area. The solution is to extend the treatment at least 20-30 cm beyond the shower profile on all exposed sides.
Water-resistant plasterboard walls. Many modern bathrooms use water-resistant plasterboard (the "green board") as a substrate for tiles. These boards resist surface moisture but not direct water. For waterproofing a walk-in shower on these substrates it is essential to use a specific membrane: the board alone is not enough.
How often to review the waterproofing
Well-executed walk-in shower waterproofing, with quality products and correct application, lasts 15-20 years with no need for intervention. The signs that something is wrong appear first in the grout (cracking, discolouration, parts coming away) rather than in the structure beneath.
Checking the grout periodically and re-sealing the critical points every 5-7 years is the cheapest way to avoid far more expensive work. If damp stains appear on the adjacent walls or on the ceiling of the floor below, the problem is already beyond the grout: in that case more extensive work is needed.
Choosing the enclosure
Waterproofing the substrate and choosing the walk-in enclosure are not two separate decisions. The geometry of the enclosure, the type of glass, the presence or absence of retaining profiles: everything influences where and how the water spreads during use.
A walk-in enclosure with 10 mm glass and a well-sized fixed panel contains splashes better than a fully open configuration. This does not mean you can reduce the waterproofed area, but that you can design with greater precision, knowing how the water will behave.
In enclosures with a floor profile, the perimeter of the shower tray is already defined: the waterproofing treatment must be applied beneath the profile too before fitting, not only around it. A frequent mistake that many installers only learn to avoid with experience.
What to check before work begins
If you are planning a renovation that includes a walk-in shower, there are a few questions to put to your installer or contractor before starting:
Which product will they use for waterproofing the walk-in shower and what are the technical specifications stated by the manufacturer? How many coats will be applied and how will the corners be treated? Will the waterproofing be extended beyond the perimeter of the shower, and by how much?
These are not technical questions reserved for the trade: they are legitimate questions every client has the right to ask. The answers say a great deal about the quality of the work that will be carried out.
One last point that is often ignored
Waterproofing a walk-in shower is invisible. Once the tiles are laid you can no longer see it. That makes it rather like the foundations of a building: no one notices them until there is a problem, but everything else depends on them.
Investing in the quality of the products and the care of execution at this stage is not an added cost: it is what determines whether, ten years from now, your walk-in shower will still be in perfect condition or whether you will face an early renovation.
The walk-in is a beautiful aesthetic choice. Making it last over time depends largely on what you cannot see.
Thinking of refreshing your bathroom or want to learn more about the walk-in shower? On the CSA Box Doccia blog you will find practical guides on materials, installation and trends to help you make informed choices.